


Friday, 29 May 2009
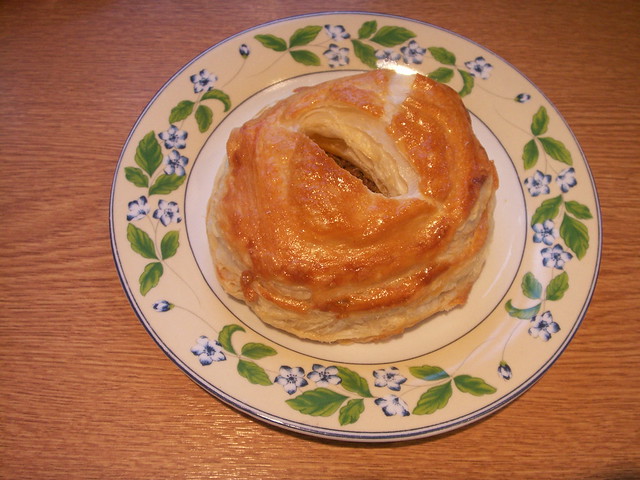
... in other words, spicy pork pies :-) The empadinhas are a great favourite of Brazilians, and the Portuguese. The Goan population have made many Portuguese dishes thier own, the vindaloos, the caldieradas are a good example of the way they have adapted them to suit their tastes. This is my version of the classic Goan empadinha. I love making them, and the contrast between the buttery puff pastry and the spicy pork filling is an absolute delight. I make it with puff pastry, just because I can then cheat and use premade pastry, but you can use shortcrust as well, to make a more traditional pie. You can make the pies big or small, depending on what you're making them for. They would taste awesome as little canapes for a dinner party, or you can make them a decent size for a family meal.
Play around with the spice combinations until you find a level of spice that suits you. The combination I make is not super spicy, and should suit Western tastes, but again, only you can know what level of spice suits you.
Recipe:
(to make about 5 big empadinhas)
1 pack puff pastry pack (400g) (get the one that you have to roll out, as the pre-rolled pastry is not thick enough)
Abot 500g minced pork or use pork cubed very small
1 big onion, finely diced
1 green chilly (increase for extra spiciness)
3 long mild red Kashmiri chillies
4 flakes garlic
1 inch piece of ginger
1 tsp ground turmeric
2 tsp cumin seeds
4 cloves
About 10 whole peppercorns
2 inch sticks of cinnamon
1 heaped tbsp tamarind paste (os use 2 tbsp vinegar)
1/2 tsp sugar
Salt to taste (or 1 1/2 tsp)
1 egg, beaten
2 tbsp oil
Method:
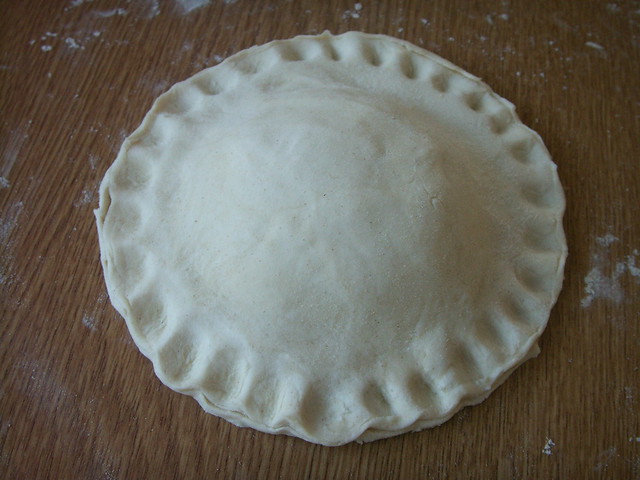
1. If you are using the premade puff pastry, cut into 5 even sizes. Using a generous amount of flour to dust, roll out each piece of pastry, and cut out 2 circles. You should have 10 circles.
2. In a blender, grind the red and green chillies, garlic, ginger, turmeric, cumin, cloves, cinnamon, peppercorns, tamarind or vinegar using just enough water to make a fine paste.
3. Heat the oil in a pan, and fry the diced onion, until its soft and golden brown. Do not burn the onion, so keep a sharp eye out.
4. To the fried onion, add the blended paste. Fry well for about 6 - 9 minutes on a medium heat, until the masala comes together in a sticky mass, and the oil starts to separate from it. Its really important that you do this, as otherwise the spices will still be raw and hit the back of your throat.
5. To the fried masala, add the pork, and stir-fry for 5 - 8 minutes on a medium to high heat until the pork is cooked through. Now add the sugar and salt. Taste and adjust the seasoning. It has to be spicy, fragrant, and with a slight tart bite to it. You may need to add more tamarind or vinegar to the mixture, depending on the taste.
6. Cook the pork mixture, until its just moist enough that when you roll the mixture into a ball it should just about stick together. Cool the m ixture thoroughly. This pork filling can be made in advance, and kept in the fridge overnight.
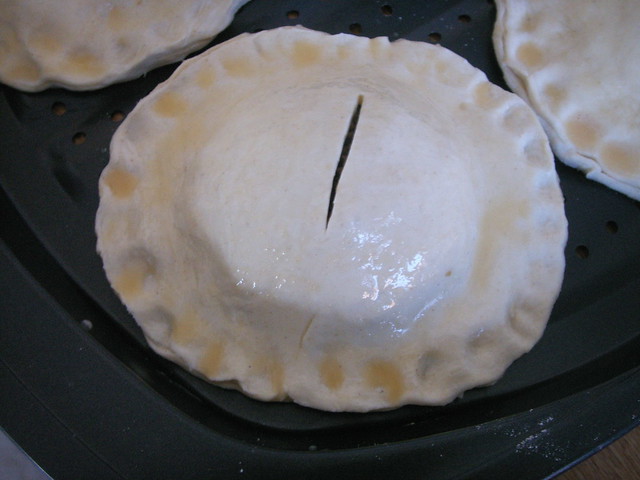
7. Now, roll a handful (about the size of a tennis ball, smaller if you're making bite sized pastry) of the mixture into a loose ball, and place in the middle of a pastry circle. Brush some egg mixture around the pastry, and cover with the second circle. Press the edges togather, making sure that they have sealed completely. Using the tip of your index finger or a fork, press in a decorative edge. Brush the whole pie with the egg wash.
8. Preheat the oven to 175 C, placing a baking tray or sheet in it.
9. Place the prepared pies carefully on a preheated baking tray. Cut into the top of the pie with a sharp knife to let the steam escape.
10. Bake for about 45 minutes or so until the pastry is well risen, golden and crisp. Serve warm or cold.
PS - Make sure that the pork mixture is completely cold before filling the pie. I made the mistake of trying to stuff hot pork into the pastry and ended up with a soggy mess that had to be thrown away.
Sunday, 24 May 2009


Yay!! My 50th post! Who would have thunk?
What better post as my 50th, than that all time favourite, pizza? Everyone has thier favourite pizza recipe, and this is my version of the Italian classic. Friday night tends to be pizza night for us, depending on if I am working from home or not. If I am, then I make the dough at about three in the evening, letting it rise and then making the pizza at about five, so that we can all sit at the table, the grown-ups [well, sorta grown-up :-)] with a glass of wine and the little one scoffing it greedily. And why not, its three of her favourite things, crisp bread, cheese and tomato, all together.
I like to hand stretch my pizza dough, but a rolling pin does the job fine too. The lovely thing about a pizza is that once you've got the basics, you can go all out and be as creative with the toppings as you wish, really! We've never had the same topping twice. Plus, by making your own crust you control the amount of oil and salt that goes into it, making the healthier for kids, in particular.
Basic Pizza Dough
400g plus a little more strong white bread flour (plain and 00 is fine too)
15g dried yeast, reactivated in 150 ml warm water and pinch sugar mixture
1/2 tsp salt
1 or 2 tbsps olive oil
About 100 ml warm water
Put the flour and salt into a bowl, drizzle the oil on top. Then put in the yeast mixture, drawing together the mixture into a soft flexible dough. Use some of the 100 ml water if you need to. Knead into a pliable dough for about 4 - 5 minutes. I use dough hooks to mix up the flour/ yeast mixture, and then knead by hand.
Roll the dough into a ball, and put into an oiled bowl, keeping it covered in a warm place for about an hour or so until the dough doubles in size.
Punch down the dough, and knead again for a few more minutes. Then using the heel of your hand, stretch the dough into a rounnd pizza crust. You can make it as thick or thin as you prefer. I like it relatively thin and crispy, but you can leave it thicker for a deeper crust.
Put the pizza on a pizza tray or a baking sheet, and top with homemade tomato sauce. Then pop on your preferred toppings (I used mushroom, green peppers, ham and onions) and top with grated mozzarella and cheddar.
Bake in a preheated oven at 225C until the crust is crisp and cooked and the cheese melted.
Tomato Sauce
This is my lazy version that I use tinned tomatoes for. You can replace them with fresh plum tomatoes for a better taste sensation.
400g tin of chopped tomatoes
2 tbsp olive oil
1 clove of finely chopped garlic
1 tsp dried oregano
1/2 onion finely diced
Seasoning
In a pan, saute the onion in the olive oil till transparent and soft. Add the garlic and stir for a minute. Throw in the tomatoes and the oregano, stir and simmer for about 15 minutes. Season with salt and pepper. Let the sauce cool, and use to top the pizza or as a base for pasta sauces.
Thursday, 21 May 2009
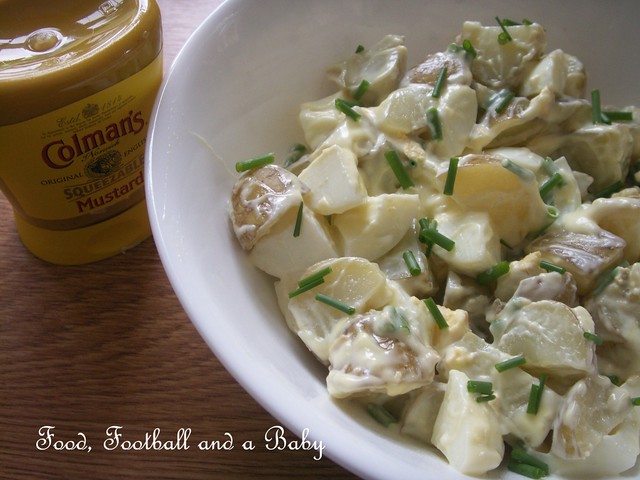
Potato salad is my favourite evening meal on summer days. As the British weather deigned to be a little bit kind, and now that Jersey Royals are in season, out came my salad bowl too. This recipe is from my lovely mom-in-law, who is also a brilliant Scrabble mediator. Pity she lives all the way in Canada.
Its a really easy salad, if you're using bought mayo, which imo, is fine when you're trying to save time. If you've made your own mayo, so much the better. I love the bite that the horseradish/ English mustard gives to the salad, and the lemon juice just joins up all the dots. The chives are from my patio, for some reason they refuse to die out :-)
This salad is great with only eggs as well. I like a combination of both taters and eggs.
Recipe:
500g Jersey Royals, scrubbed, cut into bite sized pieces if big, otherwise leave them whole
3 hard boiled eggs, chopped
About 150ml mayonnaise
About a teaspoon, or more if you like (I like!) of horseradish or hot English mustard
1 tbsp or to taste, lemon juice
Salt and pepper to season
Snmall bunch fresh chives or substitute spring onions, finely chopped
Method:
Boil the potatoes until tender.
In a bowl, gently mix together the potatoes, eggs, mayonnaise, horseradish or mustard.
Season to taste. Add the lemon juice and adjust the seasoning.
Snip the chives over the salad and fold in.
Serve with a bbq, or as part of a summer meal.
Monday, 18 May 2009
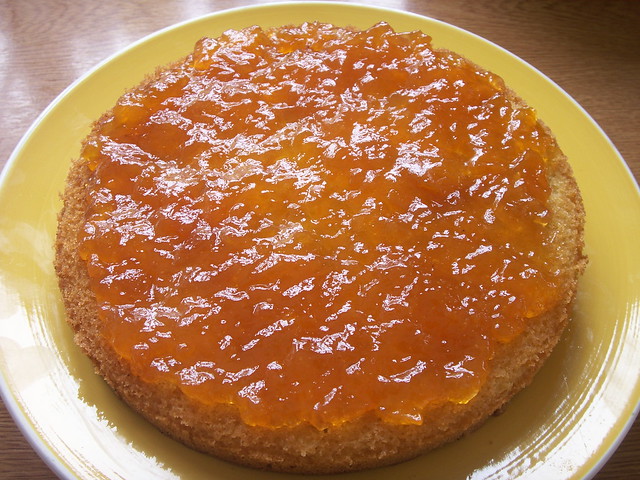
One of my favourite British traditions. You really cannot go wrong with this classic cake. Its a lovely, moist sponge cake, that has jam sandwiched in the middle. You can use almost any kind of jam, and flavour the cake any way you want. It tastes amazing with a hot cuppa, and little sandwiches... here I am coming over all Brit :-) With this recipe, I have used orange zest to give the sponge a hint of citrus and used apricot jam which adds a lovely tang to the super sweet cake.

Recipe:
225g self raising flour
225g unsalted butter softened
225g caster sugar
4 large eggs
1 tsp baking powder
Zest from 2 oranges
Enough apricot jam to spread over the cake
Method:
Preheat the oven to 175 degrees celsius. Grease and prepare two round loose bottomed cake tins. I use the standard ones I got from HomeBargains, and they've served me just as well as my fancy ones.
In a large bowl, sift in the flour and baking powder. Mix in the butter, sugar, eggs and orange zest, and beat well for about 3 minutes with an electric beater. Turn out the prepared cake mix equally into the 2 tins, smoothing out the surface.
Pop into the preheated oven, and bake for between 20 - 30 minutes, until a skewer inserted into the middle of the cake comes out clean. Take out the cakes, and leave to cool fully... otherwise the jam will melt.
Take one of the cakes and turn it upside down. Gently brush it with some apricot jam, then slather on more jam, as much as you want really. I use about half a Bonne Maman jar.
Pop the other cake on top of the jam and press down gently. Dust some icing sugar on top and serve with a nice cup of builder's... er... Earl Grey tea :-)
Tuesday, 5 May 2009
Been meaning to update my recipes for ages, here goes.
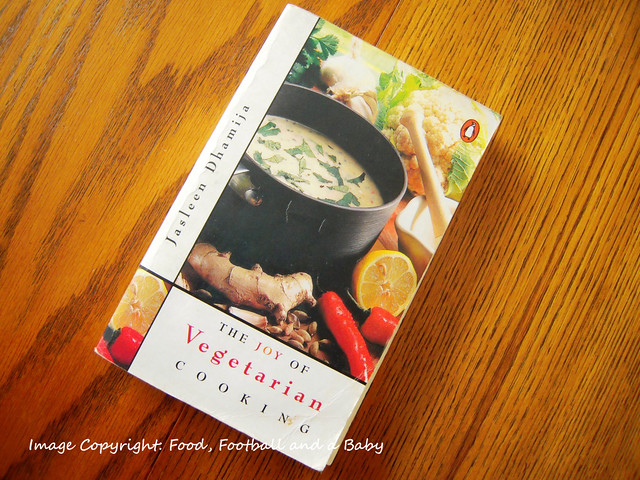
This is a super simple recipe. Literally the only thing that takes time is the time it will take for you to stuff the okra with the spice mix. Its easy and relatively healthy as you can use as little oil as you want, really. The original recipe is from the Jasleen Dhamija's 'The Joy of Vegetarian Cooking', a cookbook that I picked up when I was in India a few years ago. Mine is now a well thumbed and stained version. I have tweaked the recipe to suit our taste, as like all Indian cooking you will eventually find the proportions of spices that suit you best. I love these okra as part of a simple veggie meal, with chapattis and dal, as I feel all virtuous and healthy afterwards :-)
Recipe:
About 250 gm okra (ladies' fingers, bhindi, bhendan) washed, topped and dried well.
1 tbsp ground coriander
¾ tbsp ground cumin
½ tbsp garam masala
½ tbsp ground amchur (dried mango powder, available in any Indian grocery)
2 tsp mild chilly powder (or 1/2 tsp hot chilly powder, suit your taste)
1 tsp or to taste salt
Fresh ground pepper
1 tsp chaat masala powder (optional)
2 tbsp oil (any kind, I even use olive when I am feeling particularly health conscious)
1. Wash, cut the tops off and dry the okra well. Drying the okra will make them less sticky when you stuff them. Cut gently into them lengthwise, opening them up, but not cutting all the way through. Just enough space to stuff spices in.
2. In a clean, dry bowl, mix together the ground coriander, cumin, garam masala, amchur, chilly powder, pepper and salt. Taste, and adjust the seasoning/ spice mix to suit your taste.
3. Now gently open up the individual okra, and taking a small teaspoon of the spice mixture, stuff it into the okra. Stuff all the okra the same way until the mixture is finished.
4. Heat the oil in a wide shallow pan, and when the oil is sizzling, throw in the okra in a single layer. Stir and fry for about 5 minutes on a medium hot flame, turning until the okra are cooked through, tender and very lightly charred. Do not overcook the okra, you want a slight bite to them. Sprinkle with the chaat masala powder, if you like.
5. Serve them with any Indian bread or with rice and a dal.
Subscribe to:
Posts
(
Atom
)
