


Wednesday, 23 March 2011
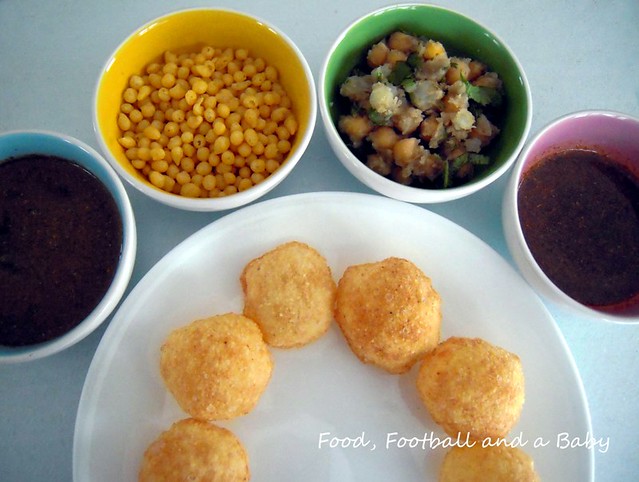
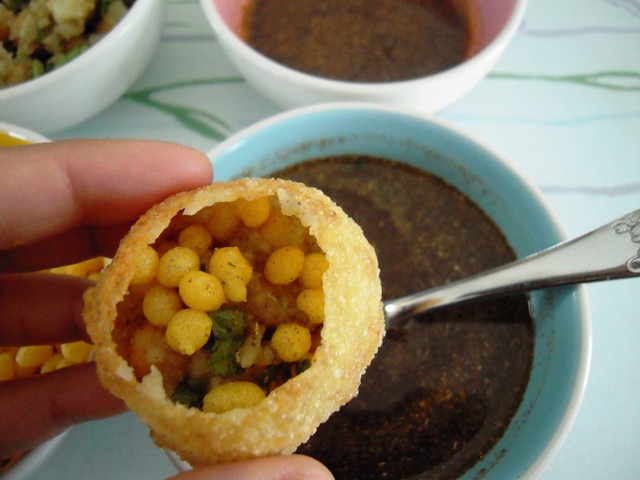
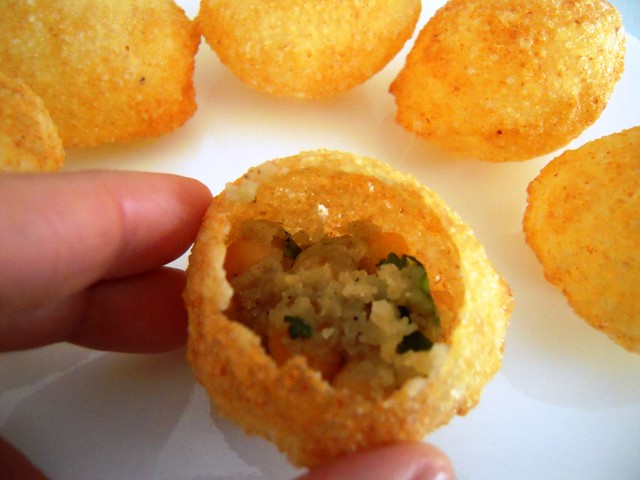
I don't think anyone who has eaten pani puri, or gol gappe as they are also known, will ever forget the taste sensations when the first ball of deep fried goodness is popped into the mouth. This is truly food at its most simple, yet with terribly complex flavours.
A firm favourite with most Indians, young and old, pani puri is the quintessential street food. You can always tell the who good vendors are, as they inevitably have a dozen or more people standing around them. You stand around him, and ask for a round. You get a little bowl made of leaves, and he quickly makes up a puri with all its additions, dips it in a large vessel of the spicy pani (spiced water) and he passes it to you. You put the whole thing in your mouth, get about ten seconds to chow down and savour the deliciousness (while the rest of the people standing around get their puris) and its your turn again. After about ten of these, you get asked if you want another round. If you say yes, which inevitably I do, then you get another round of ten more puris... and so it goes on. At the end the vendor tots up how much you owe him and you pay up, and wander down the market, stuffed to the gills, but very very happy. Life is made of moments like these.
Tuesday, 22 March 2011
I am always late to the party. Don't know why, I just am! So not only did I manage to miss a big chunk of 'We Should Cocoa', I also managed to miss 'Forever Nigella' 1 and 2. So I was determined not to miss Number 3, and with unseemly haste (Nigella would be so disappointed, a ladylike saunter would be more her style) rushed off to Sarah's Maison Cupcake to check out the new Forever Nigella challenge.
I was delighted to find that the theme was 'Ciao Italia', Italian cuisine has been a family favourite of ours, not least because its so classic and delicious, and usually on the quick side. I am, of course, talking about the pastas, pizzas and lasagnes that are a staple of our everyday dinners. And of course, Italian food is hands down the best comfort food in the world. To come back to my point, this challenge made me think a bit. I wanted to make something deliciously Italian, but didn't want it to be the usual Italian meals I cook.
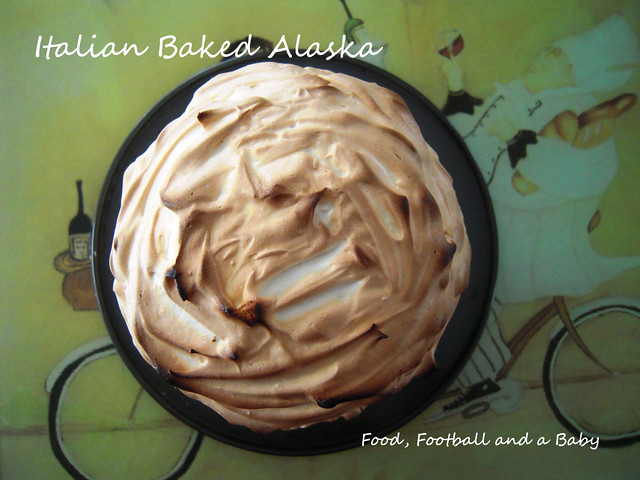
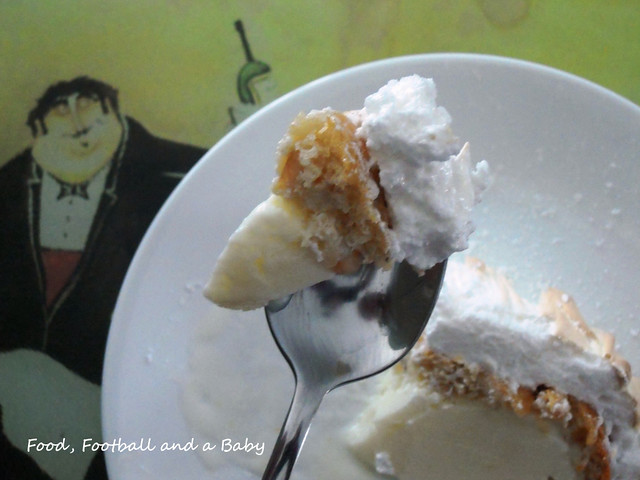
I browsed Nigella's website pretty thoroughly, and this lovely dessert caught my eye. Italian Baked Alaska! Now, as it turns out, Kay had been asking me to make a baked alaska for a while now. But I have always demurred, especially since I have never really been a good meringue maker. My first meringue around five years ago was a complete sticky, messy disaster, and I have never managed to find the confidence to make it again.
But this time round, I decided it was time to conquer the meringue demons. So the Italian Baked Alaska was the target. Nigella's recipe was remarkably simple, but as usual, I have to go and make a simple thing complicated, right? Right.
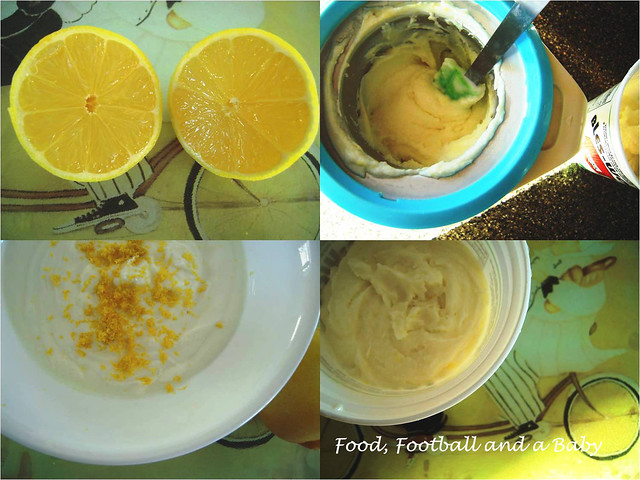
I decided to make my own panettone to start with. Then, instead of the plain vanilla ice cream, I figured I should have something lower in fat (ha!). So I settled on a lemon frozen yoghurt, as the filling. I also didn't want to make a huge alaska, so I scaled down the recipe quite a bit. And budgetary constraints meant that I replaced the Grand Marnier with Cointreau (I figure one orange liqueur tasted much like any other, purists, feel free to choke me round about now)
I toyed with the idea of making it alcohol free so the sprog could have some, but then figured she probably wouldn't like the lemony filling, so went all out alcohol-wise (am ignoring the peanut gallery, who're telling me I am really doing it so there's lots more for me ;-))
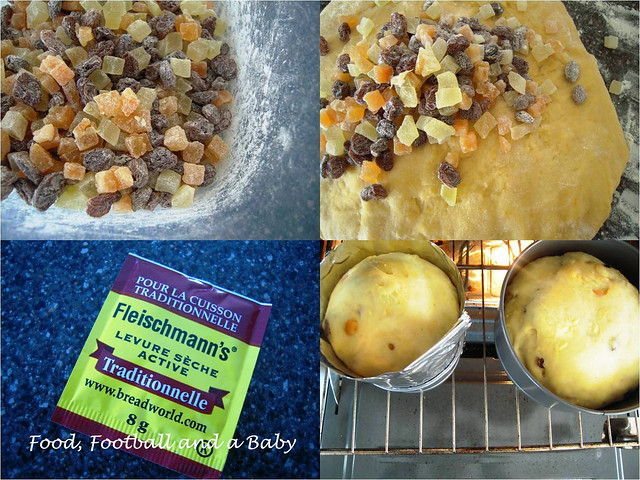
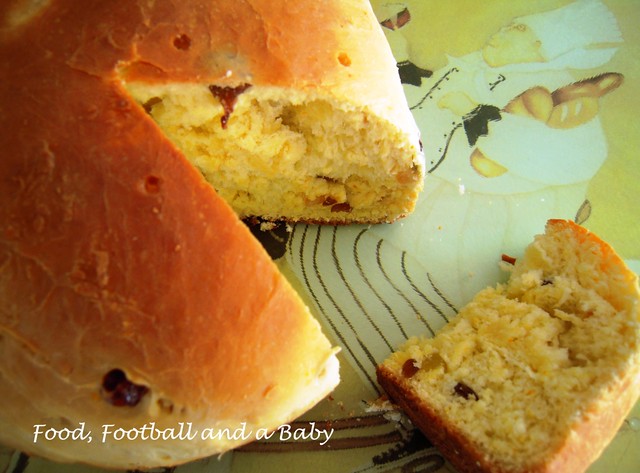
For the panettone, I used this Canadian Living recipe. The website has this neat bit where you can scale back the recipe to adjust the quantities. So, other than scaling back the recipe in half, I did not make any changes to it. I pinched off about a quarter of the dough, and baked it separately in a mini baking tin. The remaining dough, I just popped into a standard baking tin, and we had the panettone with tea. The panettone was fine, it wasn't the best or the lightest I've had, but it worked just fine for this recipe.


Italian Baked Alaska
Printable Recipe
Lemon Frozen Yoghurt Recipe
3 cups plain yoghurt
1 tbsp grated lemon zest (I used a microplane for zesting)
1 cup sugar
1/2 cup fresh squeezed lemon juice
Pinch of salt
Method:
Put the three cups of yoghurt into a cheesecloth draped over a bowl, then hang the yoghurt for up to four hours. You will be left with roughly 2 cups of very thick yoghurt after this step.
Whisk in the lemon zest and juice, sugar and salt.
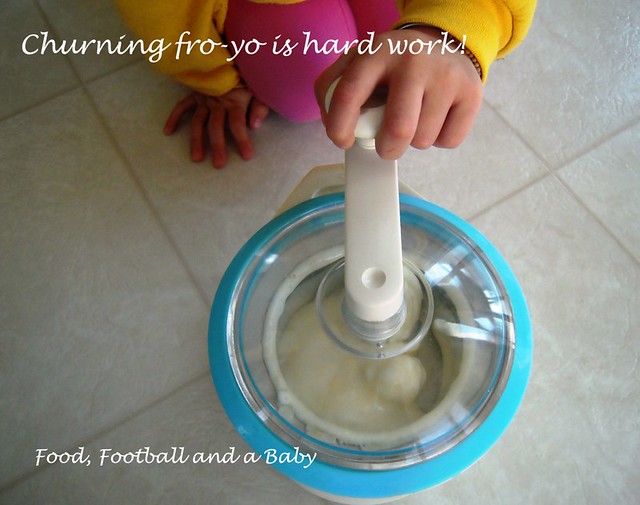
Churn in an ice cream maker until creamy. Pop into a freezer safe container, and freeze till ready to pop into the panettone.
Assembling and baking the alaska:
3 large egg whites
3/4 cup sugar
1 tbsp cornstarch
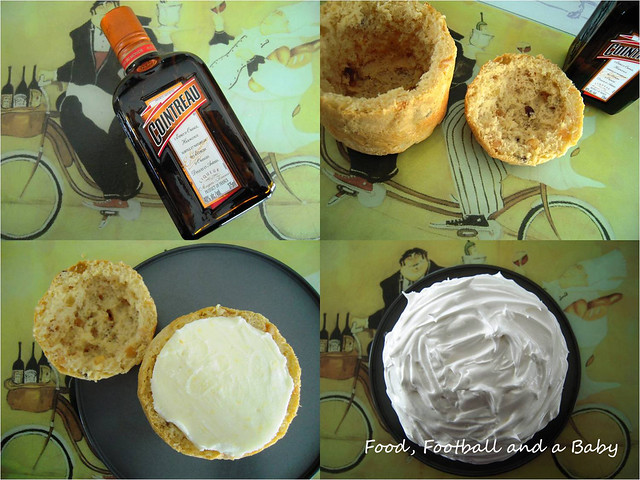
Slice the top off the panettone. Using your fingers, scoop out the insides (and eat), leaving a shell. Sprinkle the Cointreau into the panettone shell. Now stuff the panettone with the lemon frozen yoghurt, packing it down gently, but firmly. Sprinkle more Cointreau over the insides of the 'lid', and replace it on top of the panettone. Put back into the freezer while you make the meringue.
Make the meringue. Beat the egg whites, using an electric whisk, on a medium speed, until frothy. Then, on a fast setting, beat the egg whites, until they hold stiff peaks. Add the sugar, little by little, whisking well in between additions. Using a spatula, fold in the cornstarch right at the end,
When all the sugar has been used up and the egg whites are glossy and stiff, use a spatula to layer the meringue over the frozen yoghurt stuffed panettone. Don't leave any gaps.
At this point, you can freeze the assembled alaska, until you're ready to bake it.
When you're ready to bake the alaska, preheat the oven to 200 C (400 F) and pop the alaska directly from the freezer into the oven.
Bake for roughly 6 - 10 minutes (depending on how hot your oven gets, mine had been on all day, and was pretty hot, so cooked in roughly 7 minutes), until the meringue peaks start to brown. Take out of the oven, slice and serve immediately.
This recipe is going to Sarah at Maison Cupcake's Forever Nigella Blogging Event. The theme for March is 'Ciao Italia'!
Sunday, 20 March 2011
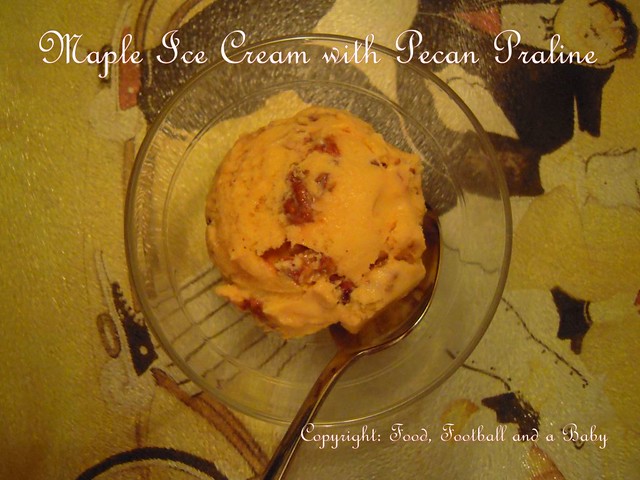
After what feels like a terribly, terribly long and cold winter, it's finally got a bit warmer the last few days. Apparently the thaw is not going to last, but it gave me a chance to dust out the ice cream maker. Not that I need a warm day to eat ice cream, mind... I am such an addict.
Along with the thaw, came some good news. As a few of you know, we moved here to Canada last year. It was a leap of faith, and I am glad the majority of my experiences have been very positive. It took me a while, but I am now immersing myself in Canadian culture, getting out and about and getting to know people and making friends. However, one of the niggles in our move here was the long delay in getting me proper permanent resident status here.
So far, I have been a tourist. This means that I have been unable to work, or study (I still have to file taxes though, go figure!) This has been a source of frustration for me, as I am not a natural housebound person. While it has been brilliant bonding with Aditi and enjoying a (very relative) life of leisure, I still have been desperately hoping that all these immigration issues are solved, so at least I have an option for looking for work with a reasonable expectation of getting a job.
About two days ago, I had my first contact from Immigration. I had been approved as a permanent resident. Yayyy!! This is only the first step, as I still have to be interviewed by the local office, and probably head out of the country so I can 'land' as an immigrant, but one of the biggest obstacles has now been removed. Its expected that the second process will be completed within six weeks, and I will then legally become a Canadian resident. Finally.
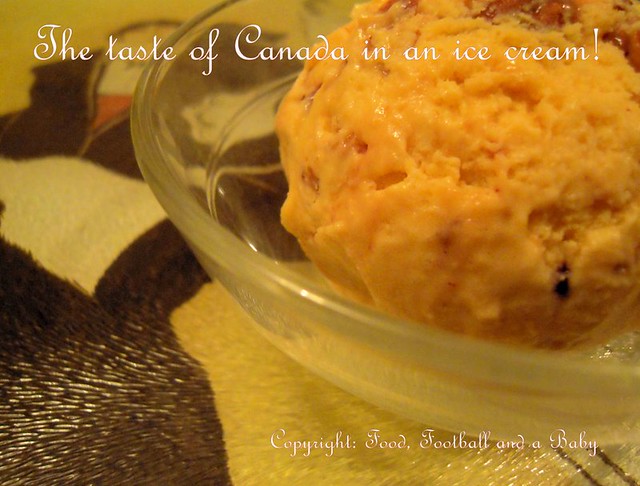
In celebration of the news, I decided I wanted to make a very Canadian ice cream. Of course, one of the defining ingredients of Canada is maple syrup. So I whisked up this maple ice cream, the recipe for which I adapted from this 'Joy of Baking' recipe, and added texture by making a pecan praline to go with it. My recipe for the pecan praline can be found here, the only difference being that I added 1/2 tsp coarse salt to it. It really added an extra level of complexity to this already delicious ice cream.
I was pretty impressed at the all the different textures and flavours of this ice cream, it was creamy, smooth, and had the right amount of crunchy, sweet and salty texture, and its so very very decadent. And of course, a flavour that disappeared very quickly in our maple syrup loving household :-)

Recipe:
(Printable Recipe)
1 cup (250ml) maple syrup (I used Canada No. 1, medium grade, you can use dark or light syrup, the taste will vary depending on the syrup used)
2 cups (500ml) half and half or single cream
1 cup whole milk (250ml)
6 large egg yolks
1 tbsp sugar
1 cup heavy cream (double or whipping cream) (250ml)
A pinch of salt
Method:
Mix together 1 cup of the half and half and the heavy cream in a large bowl, and pop into the fridge, so it gets very cold.
In a saucepan, gently heat the 1 cup milk, the remaining 1 cup half and half and the maple syrup. Heat until just steaming, and do not allow to boil.
In a large bowl, whisk together the egg yolks and the sugar, until well mixed. Pour in the hot milk/ cream/ maple syrup mixture into the egg yolks, very slowly, whisking constantly. Don't pour in the hot liquid all at once, otherwise the eggs will curdle, so be careful while doing this step.
Once everything is well mixed, scrape back this mixture into a saucepan, and gently heat for 8 -10 minutes on a medium heat, again, not allowing the mixture to boil (as boiling will will curdle the custard). When the custard has thickened, and coats the back of a wooden spoon, take off the heat.
Take out the cold half and half and cream mixture from the fridge, and pour in the custard through a sieve into it, mixing well. Let the ice cream mixture cool, then put into the fridge until its completely cold, ideally overnight.
Meanwhile, make the pecan praline. Reserve a few nice pieces for the garnish, and crush the rest into coarse pieces and keep in a air tight tin (they will keep for up to a week)
When your ice cream mixture is completely cold, churn in an ice cream maker. In the last minute of churning, add the coarsely crushed pecan praline, and mix well.
Serve with the remaining pieces of praline scattered over as garnish.
Yummy!!
Monday, 14 March 2011
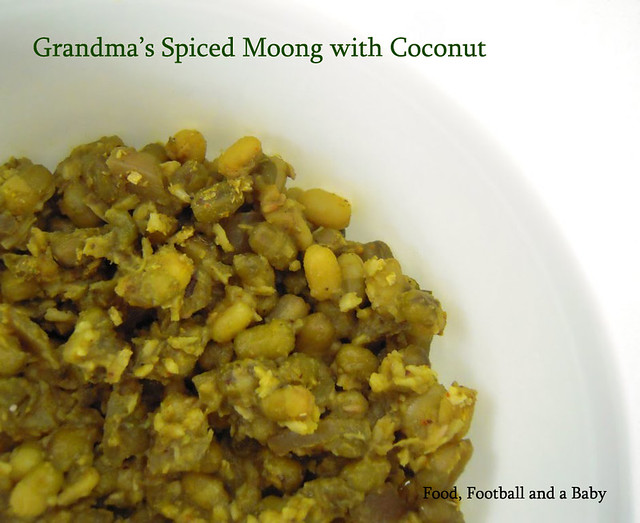
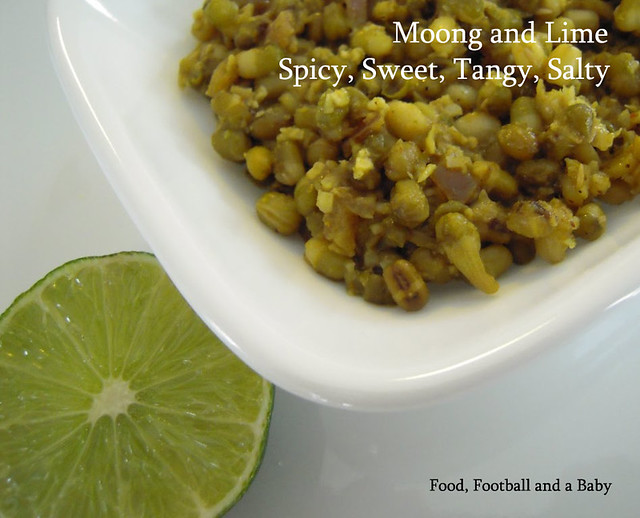
This recipe is from my dad's mother, my Mamma, who is pushing 94, and looks 80, according to her :-) I was visiting my aunt in Toronto one year, and Mamma happened to be there visiting as well. She is quite a foodie, and has loads of recipes that she got from all over, including her own mother. This particular one, I got off her, as my aunt was cooking it. I love it, as sprouted moong dal (also known as mung beans or green gram) are beautifully healthy and so good for you.
I love all the different textures in this dish, its spicy, but with a beautiful hint of sweetness from the moong and the coconut, and its got a distinct tang from the lime juice. The pictures may not look like much, but trust me this is one book you don't want to be judging by its cover :-) The complexity of flavours is unbelievable, and what's even more cool is that my grandma told me that she'd come up with this recipe on her own, as she had run out of some spices. So she improvised, and the result was so well loved, she continued to make it like this. I, for one, am glad she did, as its a firm favourite in our home. Kay told me that it tasted like India, and I thought that was such an apt description for this simple, but stunning, side dish.
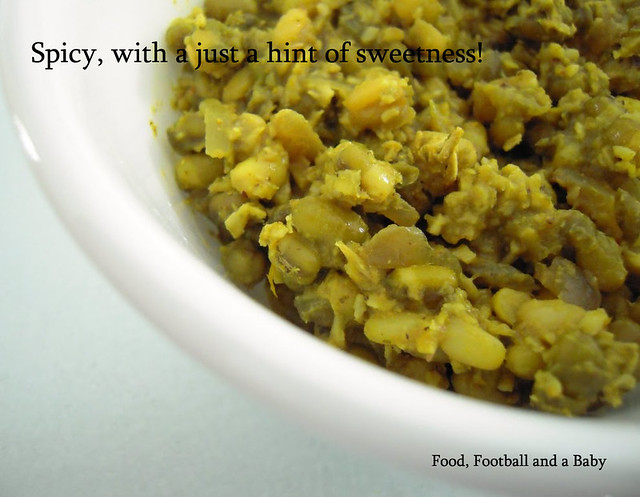
With a pescitarian husband and a vegetarian daughter, I have to make sure that the food I cook has to be to both their tastes, plus nutritious, which is a challenge. But being from India, the home of the vegetarian, life's been a lot easier. I cut down significantly on the oil too, to make it healthier. I also kept the spice level quite mild, so feel free to play around with a bit more heat.
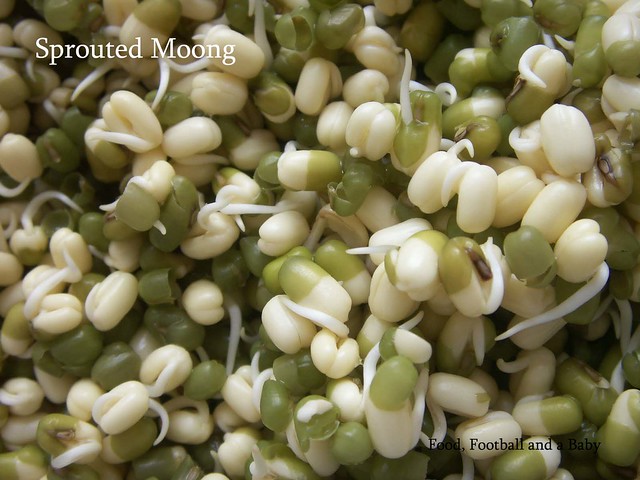
To sprout the moong, leave it in a bowl of warm water for about 24 - 36 hours, or until the moong sprouts. Like this
Recipe:
(Printable Recipe)
2 and half cups moong
Salt to taste
1/2 cup water + a little more, if required
1 sprig curry leaves
1 medium onion (chopped)
1/2 cup dessicated coconut (fresh, frozen or dried)
1/2 lime or lemon
1 tbsp oil
To grind together:
3 – 6 dried mild long red chillies (
1 small onion (chopped and fried)
4 flakes garlic (pounded and fried)
1 tsp coriander seeds
10 peppercorns
1/2 tsp whole cumin seeds (
1/2 tsp turmeric
A small bit of tamarind or 2 tbsp tamarind paste
Method
Soak the moong in warm water until sprouted (it takes about 24 - 36 hours, depending on how warm it is outside)
Toss together the chillies, coriander seeds, cumin and peppercorns in a heavy pan, until toasted. Blend the spices with the fried onion and garlic, with a little water, until finely ground.
Fry the chopped medium onion and the curry leaves together in a little oil.
Add the finely ground masala and fry gently till the initial rawness of the ground spice starts to disappear (about 8 to 12 minutes)
Add the water, salt and the sprouted moong and bring to the boil. Simmer gently till all the raw smell of spices disappears. Taste and adjust seasoning. Squeeze the juice of 1/2 a lime or lemon on top.
Stir in the dessicated coconut, at the last minute.
Serve with boiled rice or chapatis.
This recipe is going to Lisa's Vegetarian Kitchen for No Croutons Required. The theme for March is Mung or Adzuki Beans, and Lisa has relaxed the rules to allow for a casserole too, instead of just soup or salads.
Thursday, 10 March 2011
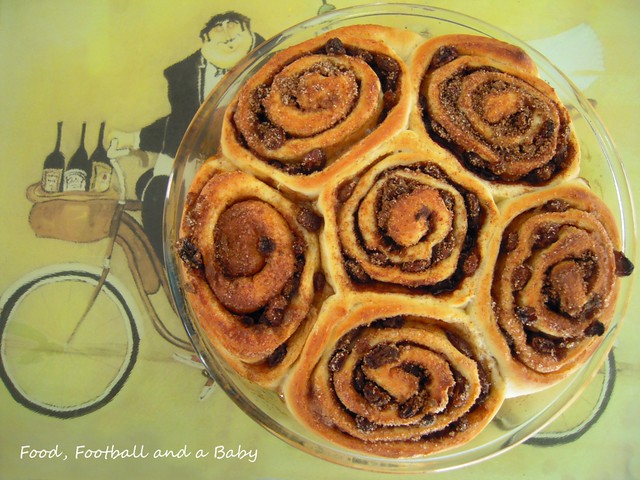
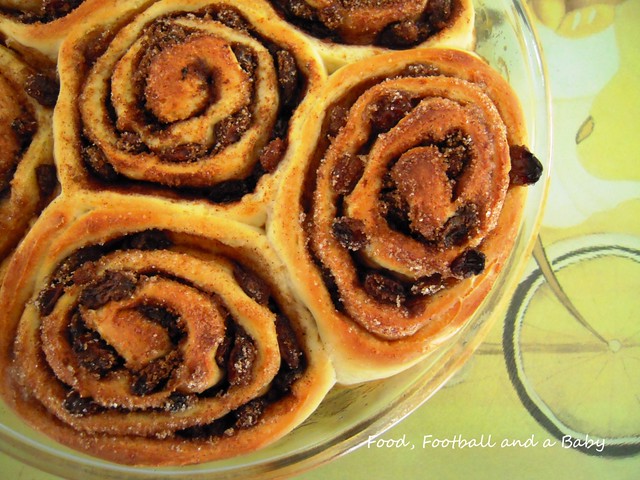
Whenever Aditi and I head over to Southgate Mall, we pass CinnZeo in the food court, and we have the same dialogue practically every time.
Me: Oh, what's that then?
Aditi: Its all nice and warm and cinnamony.
Me: Oh, what's that then?
Aditi: Its brown and soft and sweet.
Me: Oh, what's that then?
Aditi: Its tasty tasty good.
Me: Oh, what's that then?
Aditi: Mommyyyy... you're so mean, we passed the cinnamon bun place already... waaaahhhh!!
Me (very insincerely): Oh, sweetie, what a shame, maybe we can make some buns at home instead.
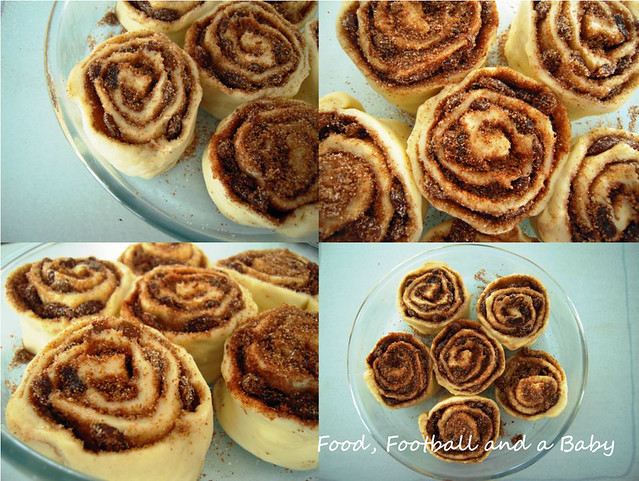
Yeah, that's me and my daughter. Aditi loves cinnamon buns, and well, so do I, but not when one bun furnishes the entire day's worth of calories and sugar at once. If Aditi and I are lucky (or exceptionally smart), we pass Cinnabon when they're doing their little sample hand outs. We love that, and both have a piece, and that's my craving sated for a day at least.
But for the last few days, Aditi has been pestering me to make some cinnamon buns, especially since I made her a small one from leftover dough from my hamburger rolls. So I figured, why not, and dug out a recipe that was given to me by my dear MIL. This recipe has shortening in it, and I never made it when I was in England, as we couldn't manage to get shortening there. I tried it once with suet, but it didn't work out, so I relied on this Easy Living recipe instead. The buns were good, but not spectacularly great, so I never made them a lot.
Anyway, I decided it was time to pull out MIL's recipe for roll dough (she told me she got it from the Better Homes and Gardens Cookbook, she's not sure which edition though) The recipe is for plain roll dough, that you would use to make hamburger and hot dog rolls, but is made a little richer with the addition of extra shortening and sugar to use for cinnamon buns.
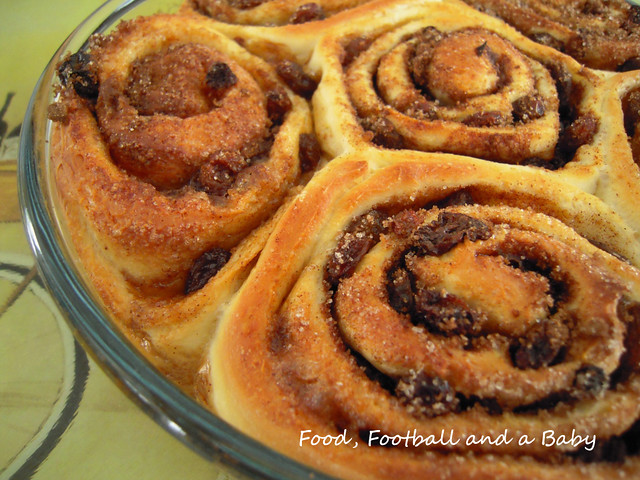
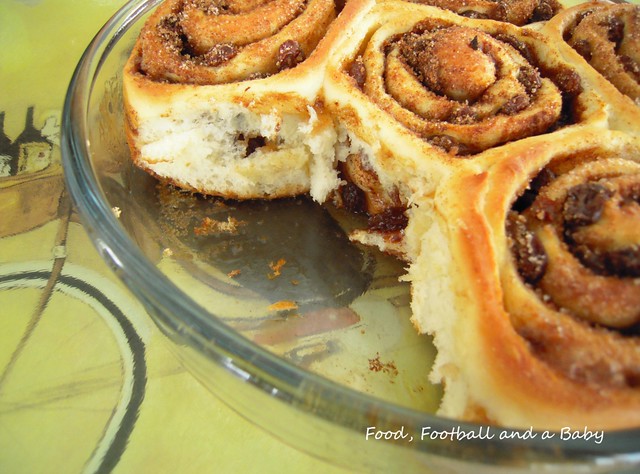
I was very impressed by the quality and taste of these buns, and they were so simple to make, especially if you have a bread maker to take the hassle out of making the dough. MIL said that pretty much everything she'd tried from that book had turned out exceptionally well, so I have another book of recipes to copy off her now.
This recipe makes double the dough needed for the buns. You can just double up on the buns or make plain rolls with the rest of the dough, if you like. I also added raisins to the buns, as I quite like the textures. You can add them or leave them out, and you can also use crushed walnuts or pecans as the filling. Once the buns are out of the oven, you can glaze them with a dark sugar syrup or ice them with cream cheese frosting, but I didn't bother with that, as I felt the buns were pretty delicious on their own.
Either way, I had a very happy, sticky and hyper little girl all of yesterday :-)
Recipe:
(Printable Recipe)
Adapted from the Better Homes and Gardens Cookbook
Plain Roll Dough:
1 tbsp active dry yeast
¼ cup water + ¼ cup extra
1 cup milk, scalded
2 tablespoons sugar
2 tablespoons shortening
1 teaspoon salt
3½ cups sifted all purpose flour
1 egg
Method:
Soften active dry yeast in warm water.
Combine milk, sugar, shortening and salt; cool to lukewarm.
Add 1 cup of the flour and beat well.
Beat in softened yeast and egg.
Gradually add the remaining flour to form soft dough, adding a little more warm water if required.
Cover and let rise in warm place till it doubles (1½ to 2 hours)
Turn out on lightly floured surface and knead for a few minutes. Then make cinnamon buns, as noted below.
Note: For a richer version, increase either the shortening or sugar or both to ½ cup.
Cinnamon Buns:
1/2 plain roll dough, as above
1/2 cup brown or white sugar (I use a mixture of both)
1/4 cup melted butter
1½ tsp cinnamon
1/4 cup raisins
On lightly floured surface roll ½ of the plain roll dough to a rectangle.
Combine ½ cup brown or white sugar, ¼ cup melted butter, and 1½ teaspoons cinnamon, spread over dough.
Sprinkle with ¼ cup raisins and/or chopped walnuts or pecans.
Roll lengthwise, as for jellyroll.
Seal edge, then, using a very sharp knife, cut into 1-inch slices.
Place cut sides down in greased pan and leave in a warm place and let rise again till double in size.
Bake in moderate oven 350 F for 15 to 20 minutes.
Frost with confectioners’ icing if desired.
Note: This only uses half the plain dough recipe. You can make plain rolls or buns with the rest. Shape and place into greased pan - let rise until double and bake.
- Lisa's 'Sweets for a Saturday ' Lisa, I've not missed a single one so far :-)
- Alli-n-son's 'Sweet Tooth Friday'
Do visit their blogs, some amazing treats on offer.
Subscribe to:
Posts
(
Atom
)


